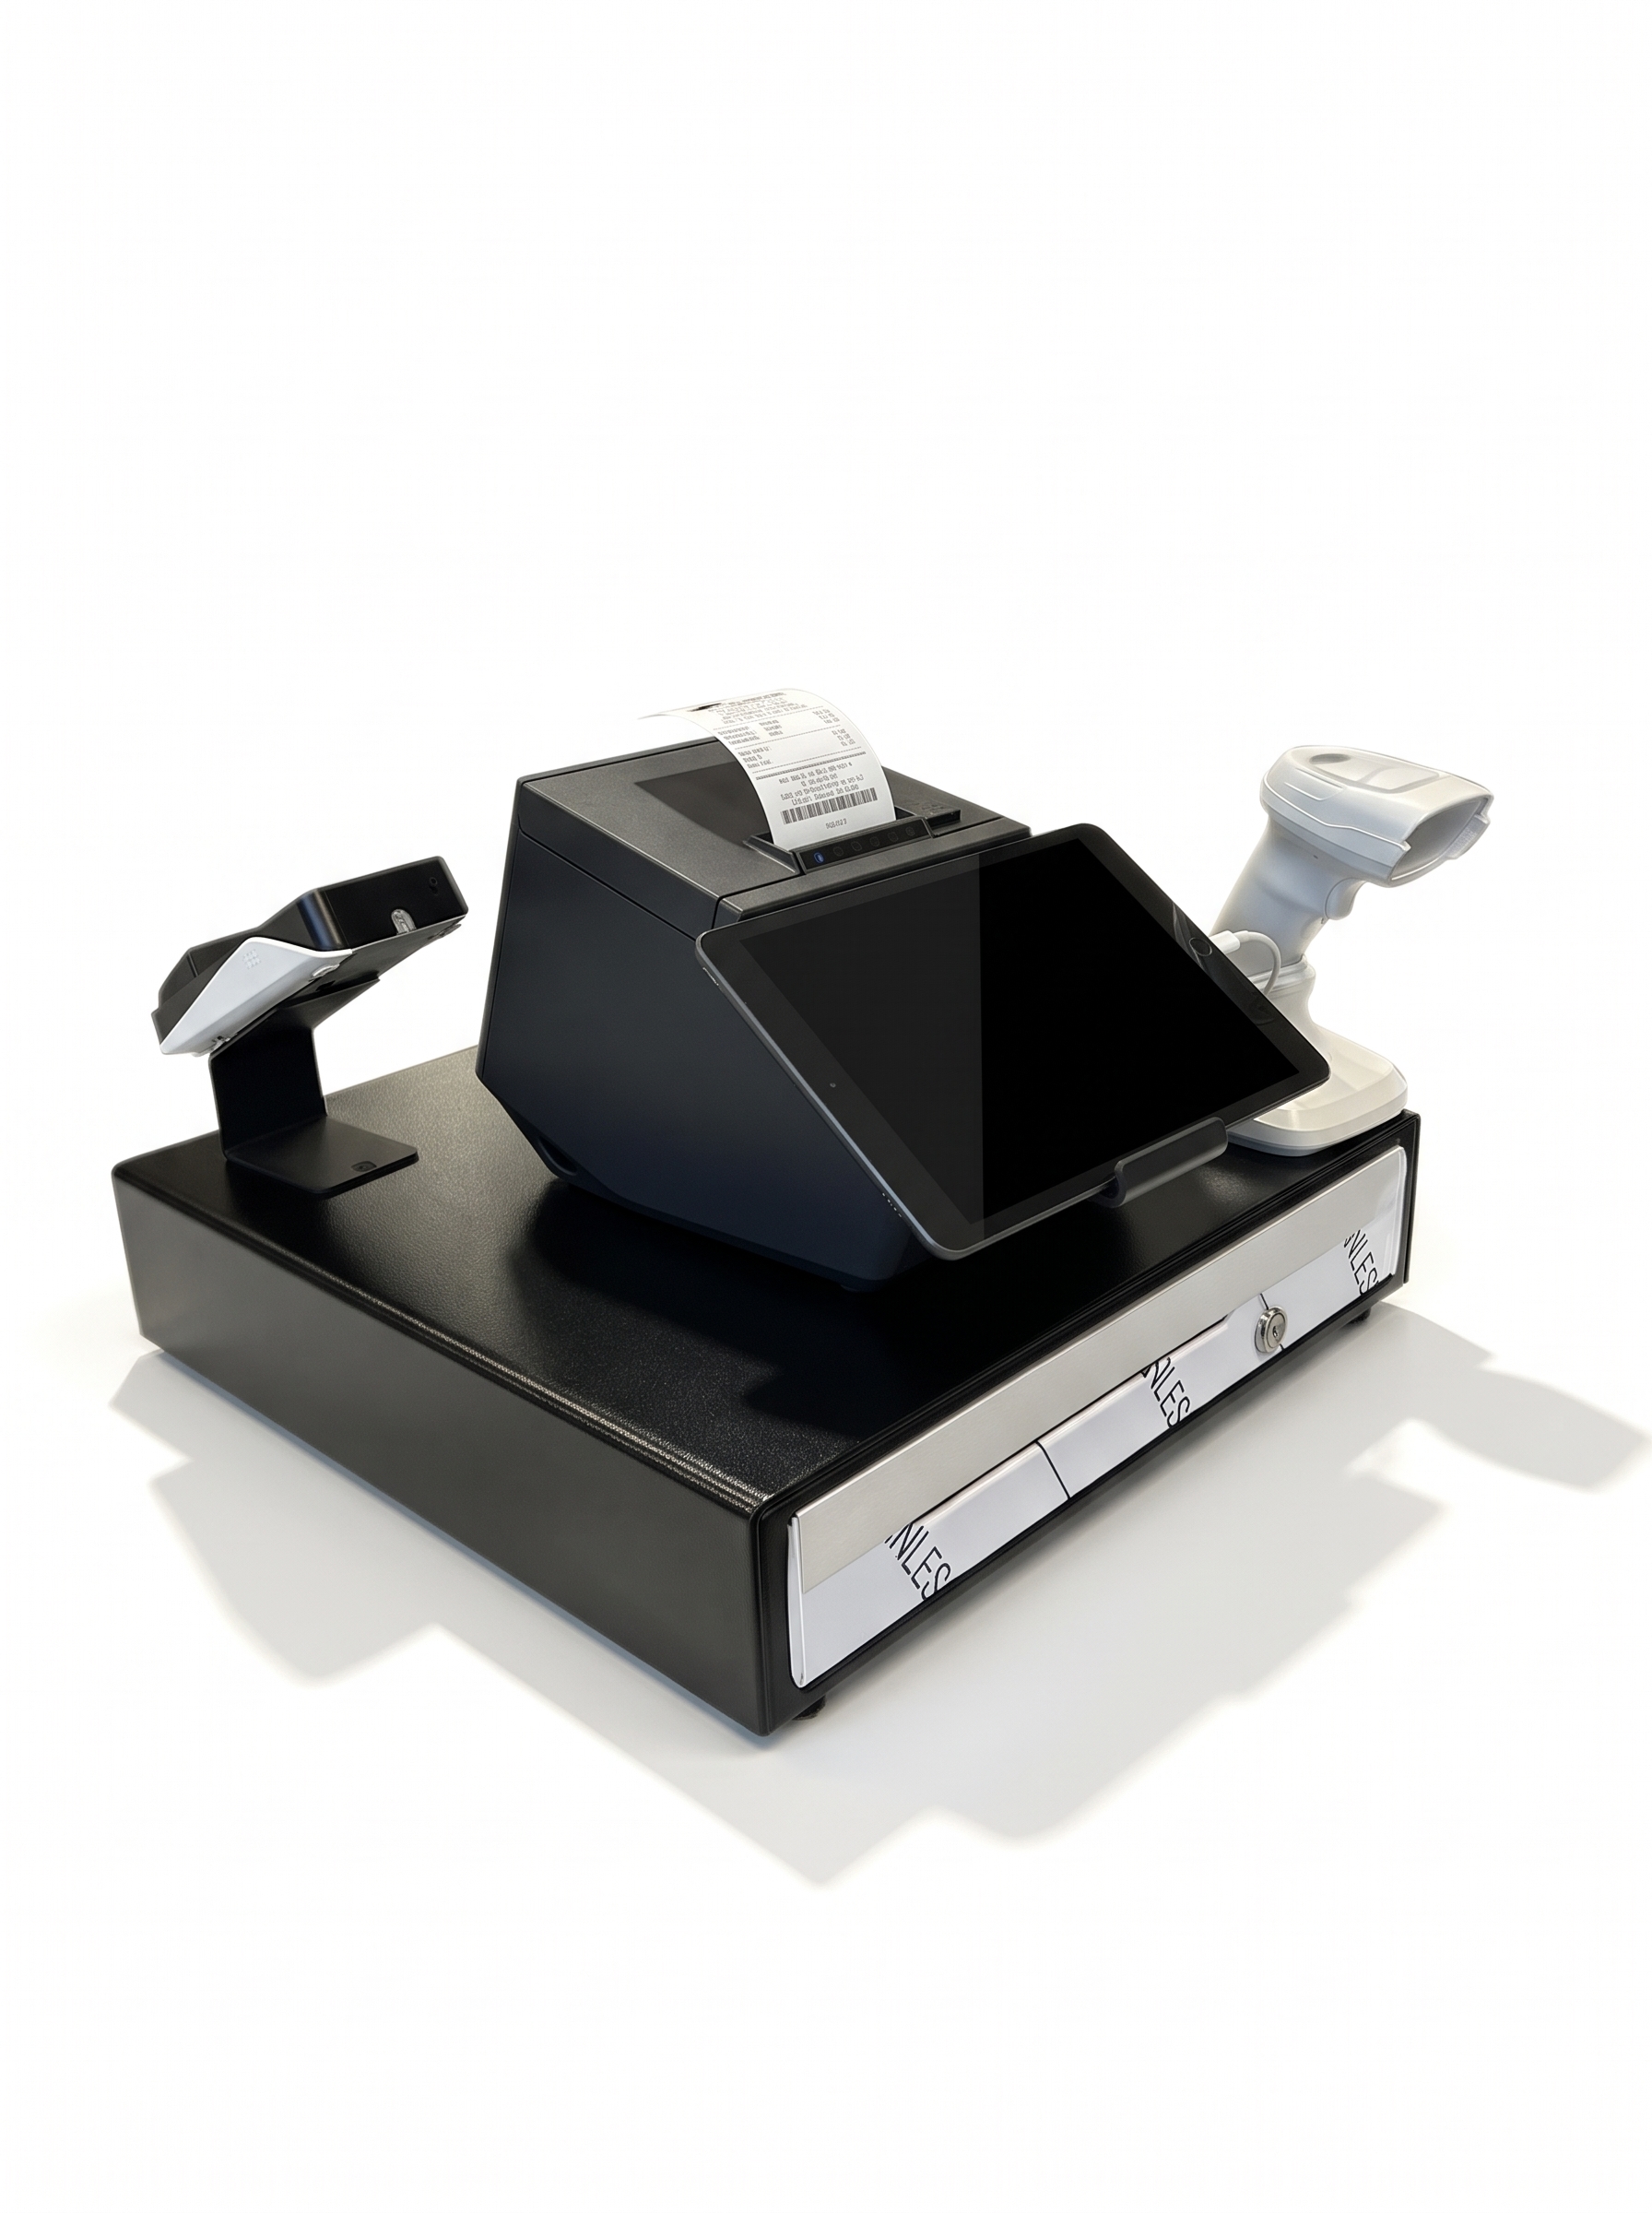
Here is a structured, step-by-step manual for assembling your Point of Sale (POS) hardware kit.
While you can customize the final layout to fit your checkout counter, this guide covers the standard physical assembly.
Included Hardware Checklist
Before you begin, ensure you have all the following components from your kit:
-
Tablets: Register iPad, Customer Display iPad
-
Stands: Main Stand (for Register & Printer), Customer Display iPad Stand, Card Machine Stand
-
Printer & Drawer: Epson SL printer or Epson TM-M30 printer, Cash Drawer
-
Peripherals: Scanner, Card Machine
-
Cables & Accessories: Power Adapter, Charging cable
1. Assemble the Main Register Stand:
Epson TM-m30II-SL: Hardware & iPad Setup Guide
1. Remove Printer Covers: Bottom and Side.
Carefully detach the bottom cover and the side cable cover from the printer to expose the connection ports.
2. Connect Cables: Power & Data.
Plug the power cable (and any necessary communication cables) securely into the designated ports on the bottom of the printer.
Verification: The cables should sit flush inside the ports and route smoothly through the tracks without bending at sharp angles.
3. Reattach Covers: Cable Management.
Snap the bottom and side covers back onto the printer. Ensure the cables are routed cleanly through the designated cutouts so the printer can sit completely flat on the counter.
4. Mount the iPad: Tablet Attachment.
Slide and secure the iPad onto the printer's built-in tablet mount. Connect the iPad to the printer using the designated cable if required by your setup.
Verification: The iPad should sit firmly on the mount without wobbling.
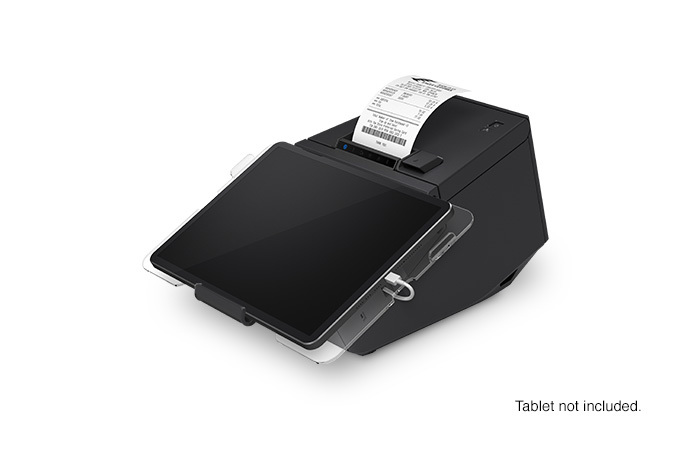
Verification: The iPad should be firmly seated and completely stable when you tap the screen.
2. Prepare the Cash Drawer:
Unbox the cash drawer and locate the attached interface cable. Unwire and uncoil the cable completely so it is ready to be routed to the printer.

4. Mount the Customer Display and Card Terminal: Requires the two smaller stands.
Take the two remaining stands (one for the Customer Display iPad and one for the Card Terminal). Attach the provided sticky adhesive pads to the mounting plates of both stands. Firmly press the Customer Display iPad onto its stand, and do the same for the Card Terminal on its respective stand.


Verification: Both devices should be securely adhered to their stands and able to withstand normal customer interaction without wobbling.
5. Assemble the Scanner:
Remove the barcode scanner from its packaging. Attach any included base or stand components. Connect the provided charging cable and power adapter to the scanner so it can begin charging.
Verification: The scanner should power on or show an LED charging indicator once plugged in.